Canvas tent care comes down to air and patience: let the canvas dry every time it gets wet, keep it off damp ground, and give it wax when the rain stops beading. Beeswax organic canvas has no coating to peel and no membrane to fail, so a Lucky Sheep® canvas tipi that is dried, aired and re-waxed will serve for many years, and one folded away damp can mildew in a week. This guide covers seasoning, mildew, re-waxing and winter storage; pitching is on the set-up page.
What three winters in a tipi taught me about canvas tent care
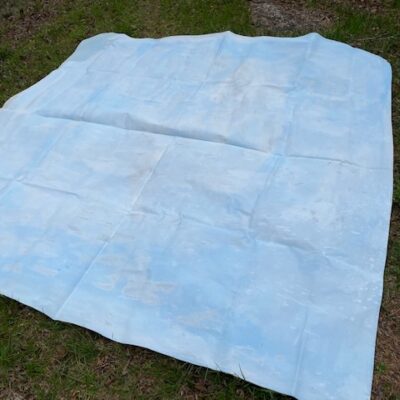
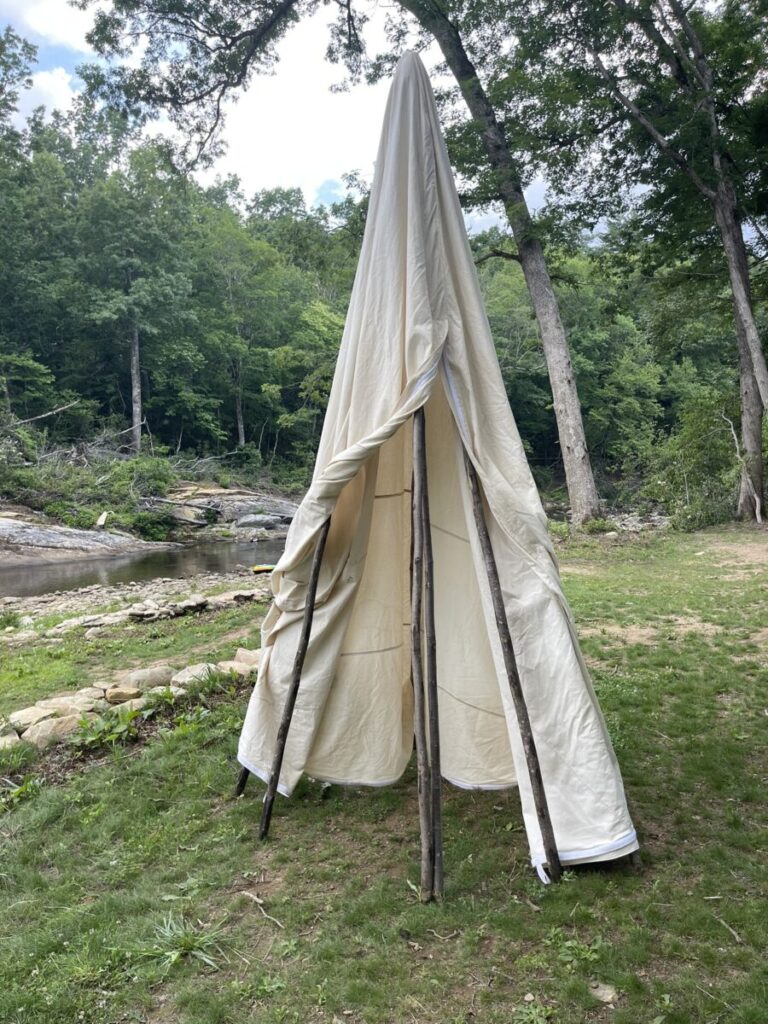
I lived in a tipi on and off for three years, and I spent a good part of one of those years walking the woods looking for poles. What I learned about canvas had less to do with the cloth than with air and ground. The first lesson was condensation. Sleeping on the ground in a permanent camp, moisture collects under the bedding, and if you leave it unattended it leads to mold. I ended up on a slatted wooden platform made from poles found on site, with a wool felt pad on top, and I aired the bedding, the ground cloth and the tent whenever the sun was out.
The second lesson was the site. Thick undergrowth and closed, still air breed mold; tall trees, a slight slope and moving air keep a camp sweet. Everything else in canvas tent care follows from those two lessons.
What beeswax canvas is, and why the care is different
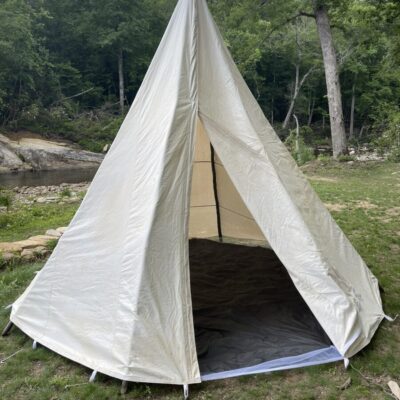
The organic canvas tent is tightly woven organic cotton with beeswax worked into the fiber. There is no polyurethane coating, no PFAS repellent and no flame-retardant treatment. Rain makes the cotton fibers swell, and the surface tension of a raindrop keeps water from passing through the tight weave. In a storm the rain penetrates the surface and runs down the inside of the canvas, but it does not fall on you. Do not touch the inside of the wall during a storm; a fingertip starts a drip at that spot, which stops on its own in a minute.
A synthetic tent stays dry because a plastic film is glued to the fabric, and that film blocks your breath as well as the rain. It also degrades in sun and cannot be renewed. Quality canvas is pre-treated and re-treatable: it will not delaminate, but it can mildew if left wet, and its wax wears thin and needs replacing. Expect a beeswax-candle smell for the first few days and some variation in color across panels; both are the wax, not a defect.
How do you season a canvas tent?
Untreated cotton canvas has to be seasoned before it sheds water: wetted and dried so the fibers swell, the weave tightens and the needle holes along every seam close around the thread. Beeswax canvas arrives already sealed, but one wetting cycle still helps the stitch lines, so treat the first pitch as a rehearsal in the yard rather than a trip.
- Pitch the tent taut on a dry day, following the stake order on the set-up page.
- Soak it thoroughly with a hose, seams included, or leave it up through a rain. Let it dry completely in the sun.
- Repeat once. A few beads at a needle hole during the second soak are normal and close as the thread swells.
- Rub Trail Wax into any seam that still weeps and warm it in. Then it is ready to live in.
Pitch it for airflow: site, ground and the bottom edge
Look for good air circulation and good drainage. In a forest that means tall trees and not a lot of undergrowth; a slight slope, or a spot raised above the ground around it, never a low flat place that could become a pond. Stagnant air creates microclimates that foster mold, and the freshest air is next to moving water.
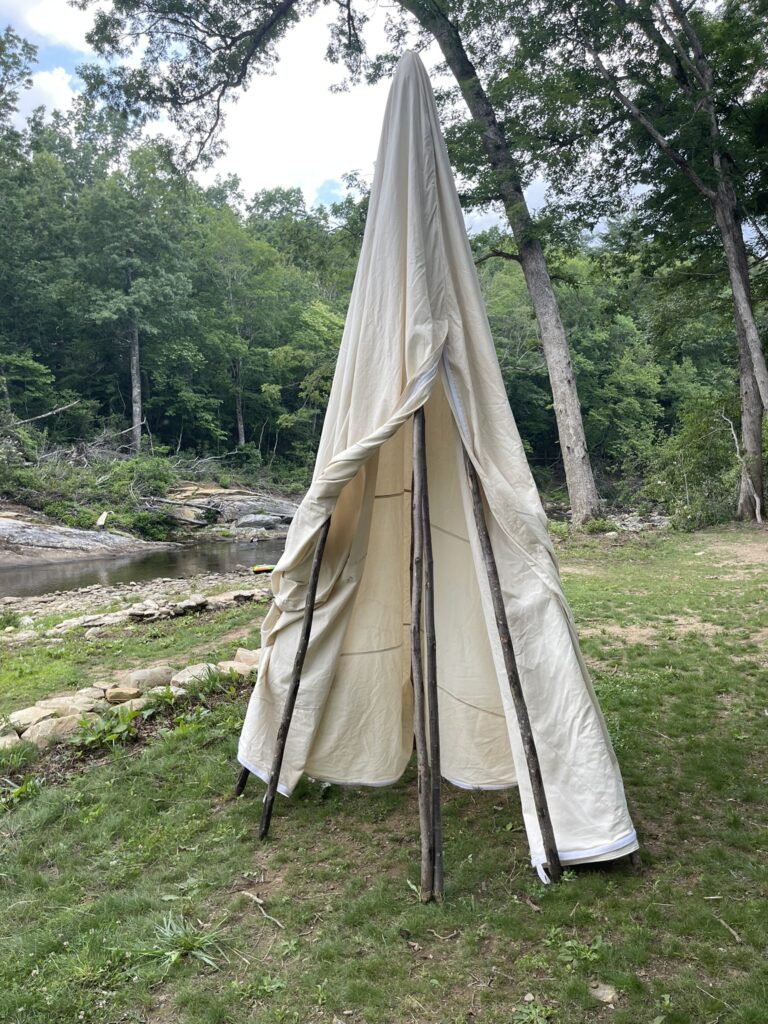
The golden rule of pitching canvas is to keep the bottom edge off the ground. With the floor zipped in and the corners staked, the wall should sit about two inches above the soil; in summer, pitch it six or more inches up and you get ventilation all the way around. Ground contact wicks moisture up the wall, and that is where mildew starts. Exceptions: a stay of a few days, or winter, when you want the edge down against drafts. Beeswaxed cotton should never be left continuously against damp ground: on wet ground put a silnylon ground sheet under the canvas ground cloth, and on long stays air the tent and bedding on dry afternoons.
Dry it before you store it: the rule that decides everything
Cotton is food for mold, and a damp tent rolled into a bag is a dark, wet cellulose sandwich. The tent must dry out 100 percent after it gets wet, before storage, every time. If you break camp in the rain, pack it wet, but pitch it again at home the same day or hang it over a fence or a clothesline until every seam, the floor and the bottom hem are dry to the touch and then some. A warm car steams a tent; it does not dry it.
How do you get mildew out of a canvas tent?
Mildew shows as grey or black speckles along the floor edge or wherever a fold stayed damp, and it smells before it shows. If it appears, act the same day. Do not use chlorine bleach, which strips the beeswax and weakens the cotton, and do not machine wash, pressure wash or use detergent, for the same reasons.
- Pitch the tent in full sun and let the spots dry completely.
- Brush the dry growth off with a stiff, dry brush, working so the spores fall outside.
- Sponge the area with one part white vinegar to four parts water, or a weak solution of pure soap flakes, then rinse with clean water.
- Leave it up in sun and moving air until bone dry.
- Re-wax the cleaned area. Any washing takes some wax with it.
Some shadow may remain on a badly affected panel. That is a mark left by dead mildew, not live growth; the cloth is fine as long as it is strong when you tug it and no longer smells. Never hot water, solvents or bleach on beeswax canvas.
Can you re-waterproof a canvas tent? Re-waxing with Trail Wax
Yes; it is the thing canvas does that a coated tent cannot. The wax wears thinnest where the cloth flexes and rubs: the apex, the door edges, the hem and the seams. You will know it is time when rain stops beading on a panel and it wets through quickly instead of slowly, or when a dry panel looks chalky. Touch up the seams every season and re-wax the whole tent every few years.
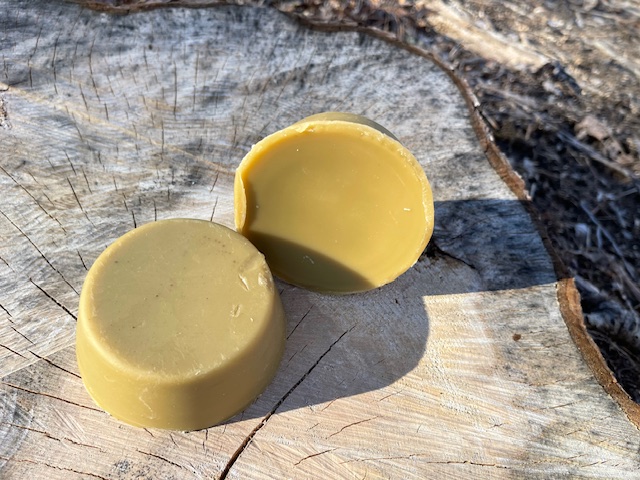
I make the finish the old way: beeswax, a little linseed oil and pine resin melted together and poured into bars. I gather the pine pitch myself from a grove near the house, and every time I do, I am struck that there is still no substitute for what the bees and the trees make. Trail Wax is that bar, ready made, and the method is simple.
- Start with clean, dry canvas on a warm day. Rub the bar firmly across the fabric until the surface is coated. It will look streaky and chalky; that is fine.
- Warm it in. A hair dryer, kept moving, melts the wax into the fiber in seconds and the streaks turn clear. Hot sun does the same more slowly.
- Work the seams from both sides, pushing wax into the stitch holes with a thumb.
- If you find places you missed, and you will, re-coat and re-warm any time. Let it cure overnight before packing.
Canvas in winter: snow, thaw and the frozen tent
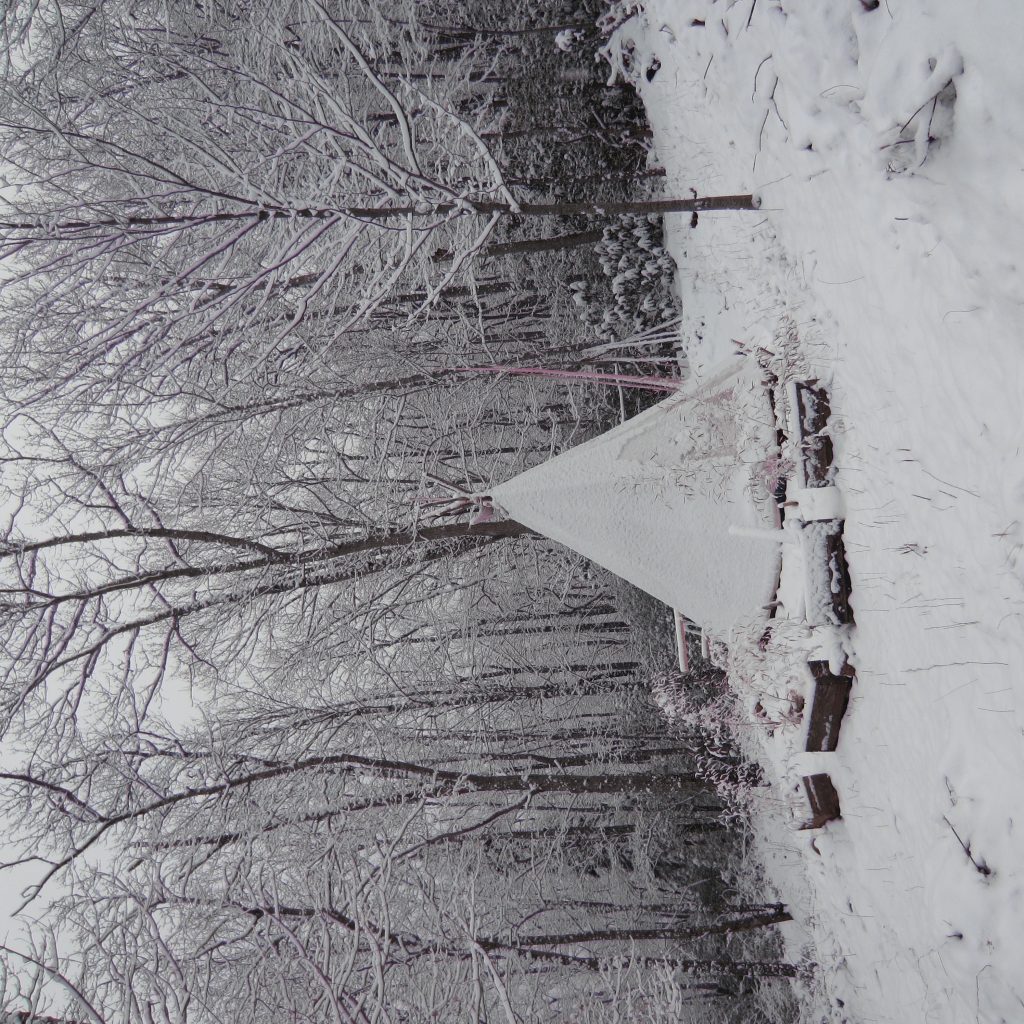
Winter is where canvas shines. It holds some of the ground’s warmth and it does not build up humidity the way a plastic wall does. Two cautions. Knock snow off the walls before it loads the poles; a wet snowfall on a 12-foot tipi is a serious weight. And a tent taken down at 20°F is frozen, not dry. Bring it inside, let it thaw and dry fully, and only then fold it, exactly as after rain.
How should a canvas tent be stored for winter?
- Dry. Pitch it one last time and give it a full day of sun. Inspect seams, stake loops and zippers while it is up, and touch up the wax.
- Loose. Fold or roll loosely, changing the fold lines from last year so the same creases do not wear thin. Store in a breathable cotton bag or an old sheet, never in a sealed plastic bin, which traps whatever moisture is left.
- Off the floor, out of the damp. A shelf in a heated room beats a garage floor, a shed or a basement.
- Rodent-proof. Mice love beeswax and nest in folded canvas. In an outbuilding, put the cotton bag inside a metal can with a tight lid or hang it from a rafter, and check it once mid-winter.
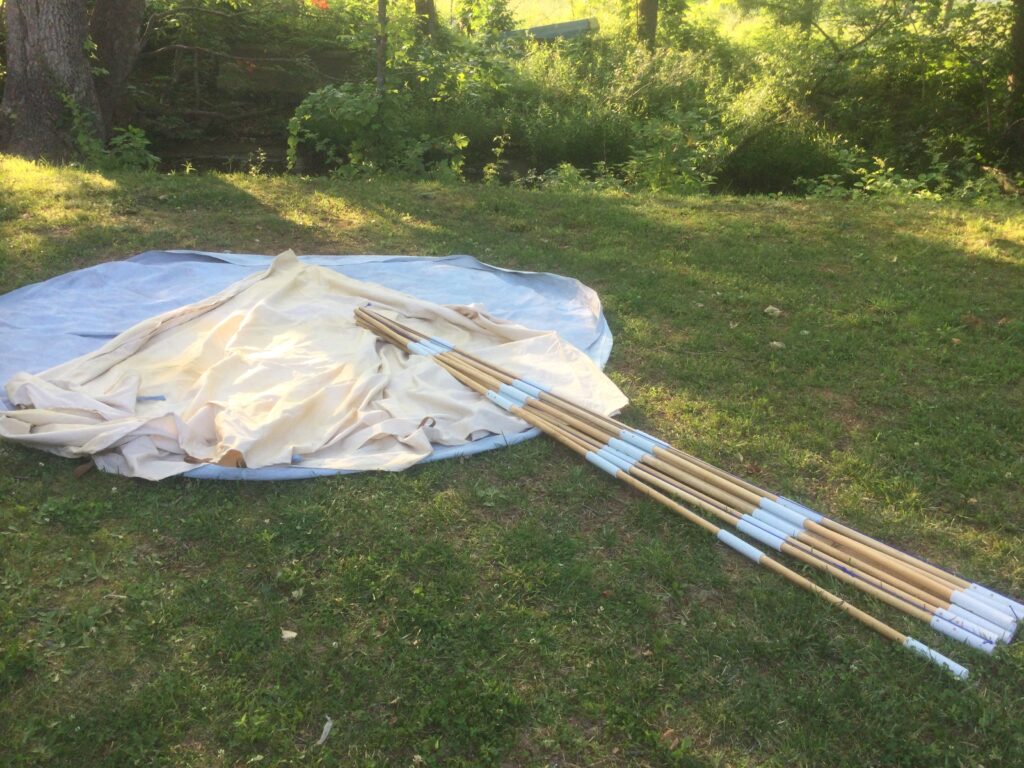
- Poles. Store flat and dry with the sections apart, and check each joint for splits next spring.
Canvas tent care in one line: bottom edge up, air moving through, dry before it is bagged, wax when the beading stops, mice kept out. In return the tent breathes with you instead of against you. Pitching, stake order and the door are on the set-up page linked above, and if you want to know what a winter in one is actually like, start with the tipi experiment series. Real fibers for real conditions.
Reviewed September 2026 by the Lucky Sheep® team.

The book behind these articles
A Rewilder’s Guide to Outdoor Adventure
The complete Lucky Sheep approach to time outdoors — skills, gear, food and natural sleep, from the founder. Everything the field guide covers, in one book you can take with you.
Get the book →Shelter that breathes
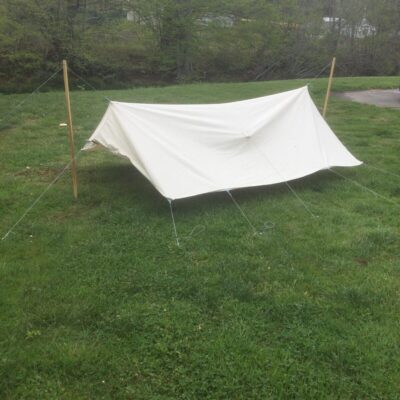
Organic cotton canvas sealed with beeswax instead of polyurethane: air moves through the fabric, so you wake up dry instead of under condensation. The tipi tent for basecamp, the tarp for fast and light, the ground cloth under either.
-
Organic Canvas Tent
Breathable basecamp shelter, no coatings
8 / 10 / 12 ft diameterBeeswax-sealed organic canvas
Price range: $1,250.00 through $2,100.00 Select options This product has multiple variants. The options may be chosen on the product page