Waxed canvas is the one piece of outdoor gear you can bring back to new at your kitchen table. When rain stops beading on a jacket, pack, tarp or tent, the fix is a bar of wax, an iron or a hair dryer and half an hour. This is how to rewax waxed canvas the way I do it, how to tell when it needs doing, how to clean it without stripping the finish, and the few things that will ruin it.

Why I gather the pine pitch myself
Not long ago I was out in a pine grove near my house gathering pine pitch for the water-repellent finish I put on the canvas. Wandering among those trees, I was struck by how one tree gives us medicine, waterproofing, a fire starter and a wood finish, and by how hard the bees work to make the wax I melt the pitch into. To this day there is no substitute for those two gifts of nature, and the things we have made to imitate them are a good part of the environmental mess we are in.
That is the frame I bring to caring for gear. A membrane jacket is finished when its coating is gone. A waxed jacket is never finished: if you have missed places, and you will, you re-coat and re-iron any time. Your gear becomes something you care for rather than something you use up and replace, and I have found that quietly changes how you treat everything you carry.
What are the disadvantages of waxed jackets?
The main one is that the finish wears, and the cloth will tell you when. Wax migrates out of folds and wear points first, so look for these signs:
- Water stops beading. Sprinkle a few drops on the shoulders of a jacket or the bottom of a pack. Fresh wax makes tight round beads; tired wax lets the drops flatten and darken the cloth within a minute.
- Pale creases and wear points. Light lines at the elbows, hood edge, cuffs, pack bottom and strap contact points mean the wax has thinned there.
- The fabric feels dry and papery instead of slightly waxy and supple.
The other disadvantages are the ones I list in the waxed cotton rain jacket comparison: it weighs about 2 lb, it wets out slowly in a full day of hard rain, and it cannot go in a washing machine. Every one of those is the price of a finish you can renew yourself.
How often should you re-wax waxed canvas?
Canvas tells you; the sprinkle test is the rule, not a calendar. In my own use, a beeswax jacket worn a few weekends a year wants a full re-wax every couple of seasons with spot touch-ups between. A pack that lives on the trail all summer wants its bottom and seams done every season. A waxed canvas tarp or waxed canvas tent that stays pitched for weeks needs the ridgeline and the weather-facing panels looked at about once a year.
Spot-waxing wear points as soon as they go pale roughly doubles the time between full treatments. Your mileage will vary with climate and how hard you use the gear.
How to re-wax waxed canvas with Trail Wax
You need a bar of Trail Wax, an iron or a hair dryer (or a sunny afternoon), a piece of cardboard, some wax paper, a clean rag, and somewhere flat and warm to work. The wax will not hurt anything, but it is easier to keep off the table.
- Clean and dry first. Brush off dried mud and dust. If it needs more, rinse in cold water and let it dry completely, which can take a day. Wax on damp canvas sits on top and flakes off.
- Warm everything up. Canvas takes wax far more easily when it is warm. Lay the piece in the sun for a few minutes, or run the hair dryer over the first panel, and keep the bar in a pocket.
- Rub the bar on until the surface is coated thoroughly. Seams and wear points first, with a heavy hand: shoulders, hood, cuffs, pocket mouths, pack bottom, strap contact points. Then long, overlapping strokes across each panel, like painting a wall. You want a visible, slightly streaky film everywhere.
- Melt it in. My method from the book is an iron: lay the piece on cardboard, put wax paper between the iron and the cloth so the iron does not load up, and iron one section at a time. The wax melts through and seeps into whatever is on the other side, so mind what is underneath. A hair dryer on high, a few inches off the cloth, does the same job more slowly, and in strong sun an hour on a dark surface will do it.
- Add a surface coat. Rub on one more thin layer that does not get ironed in, and set it with the blow dryer. This surface coating is what creates a complete water seal.
- Wipe and cure. Any wax still sitting shiny on the surface comes off with the rag; left on, it will rub onto your car seat. Hang the piece open in a warm, dry spot overnight. It feels slightly tacky the first day and settles by the second. Clean the iron by rubbing it on a scrap cloth before it cools.
Can you use plain beeswax on canvas?
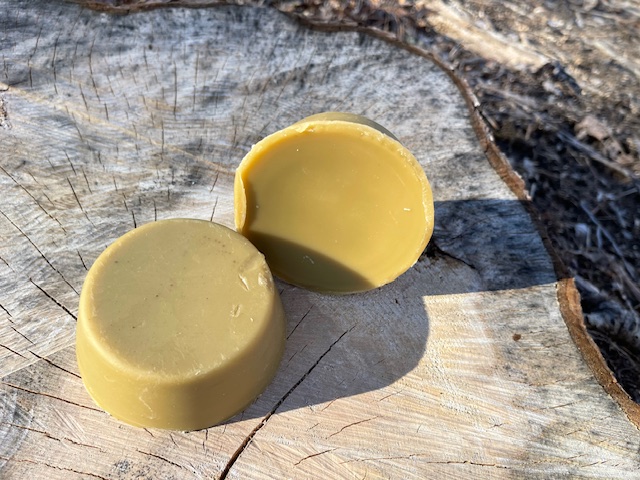
You can, but in my experience a plain beeswax block goes on stiff and cracks at the folds. The recipe I give in A Rewilder’s Guide to Outdoor Adventure is one pound of beeswax, four ounces of linseed oil and a quarter cup of pine resin, melted on low in a bowl set inside a crock pot, then poured into muffin tins to set. The oil and resin keep the wax supple and help it bond to the fibers. Trail Wax is that bar ready-made.
The same bar and method work on cotton pants, tarps and backpacks; an oversized cotton shirt done this way, with a hood and zipper added, was my first oilcloth windbreaker.
Spot re-wax on the trail
Most of the time a spot treatment is enough, and on the trail you can do it with no heat source at all. Rub the bar over the shoulders and hood of the jacket in the morning; body heat and sun will draw most of it in by lunch.
Do a full re-wax when more than a third of the piece has gone pale, when water soaks through the panels and not just the seams, or every few years regardless.
Can you wash waxed canvas?
Not in a machine. Hot water melts wax and detergent carries it away, which is exactly what a washer does, so cleaning waxed canvas is mostly a matter of restraint.
- Let mud dry, then brush it off. Wet mud smears into the wax; dry mud falls out of the weave with a stiff brush.
- Cold water and a sponge or soft brush for anything the brush does not shift. Work from the outside of a stain inward.
- No detergent, no soap, no machine, no dryer, no dry cleaning. All of them strip the finish, and the cloth comes back stiff and absorbent.
- No solvents or spray-on water repellents. Solvents dissolve the wax; fluorinated sprays put back the PFAS you chose canvas to avoid.
- Air dry, hanging, out of direct heat. Then touch up any patch you scrubbed hard. Woodsmoke and sweat come out with a day of airing in the sun.
Storage and mildew
Beeswaxed cotton is a natural material and should not be left continuously against damp ground. Prolonged exposure to moisture without adequate drying can eventually cause cotton canvas to mildew or mold, and a mildew stain is permanent; no amount of wax fixes it. After use, allow the canvas to dry thoroughly before folding and storing it.
Store it clean, completely dry, and hanging or loosely rolled in a cool place. Jackets go on a wide hanger; packs hang empty and open; tarps and the tent roll loosely rather than fold, because hard creases held for months are where the wax cracks and the cloth goes pale. Heat is the other enemy: a car trunk in July or a hot attic migrates the wax into the folds. A cold garage is fine.
How to re-wax a waxed canvas jacket, pack, tarp or tent
Jacket
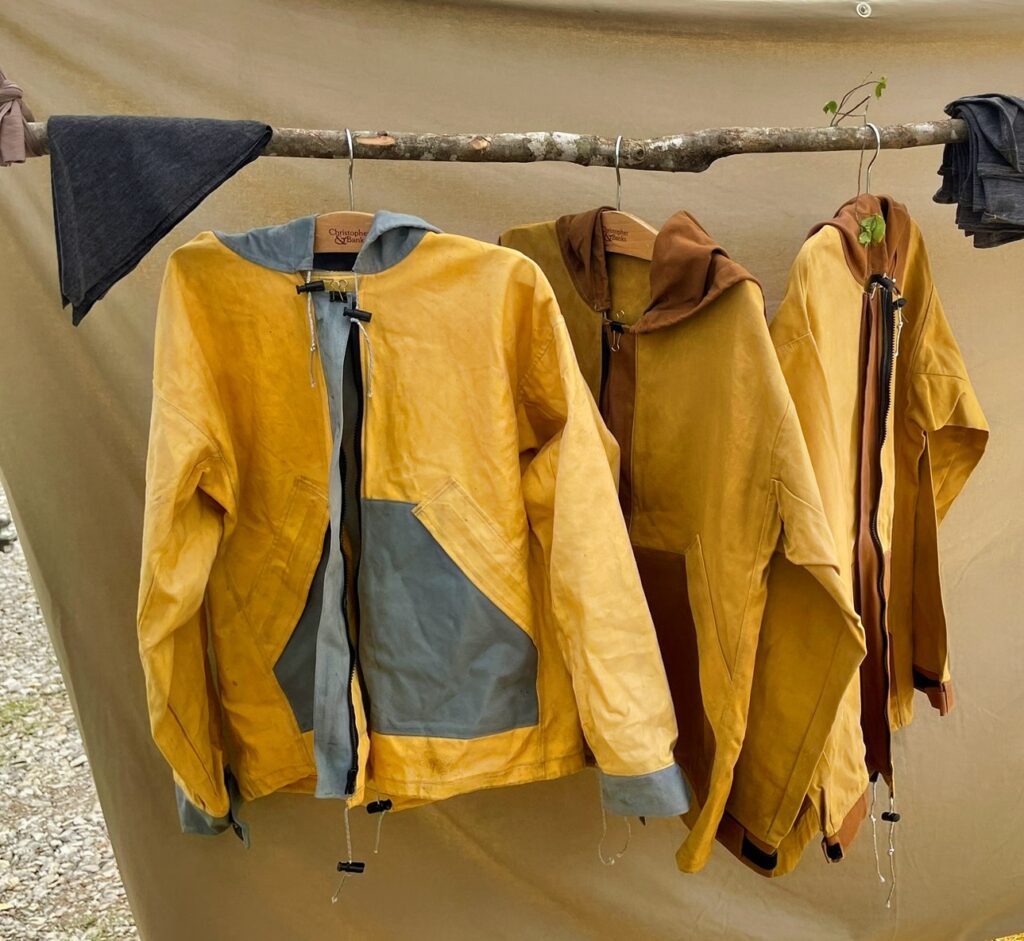
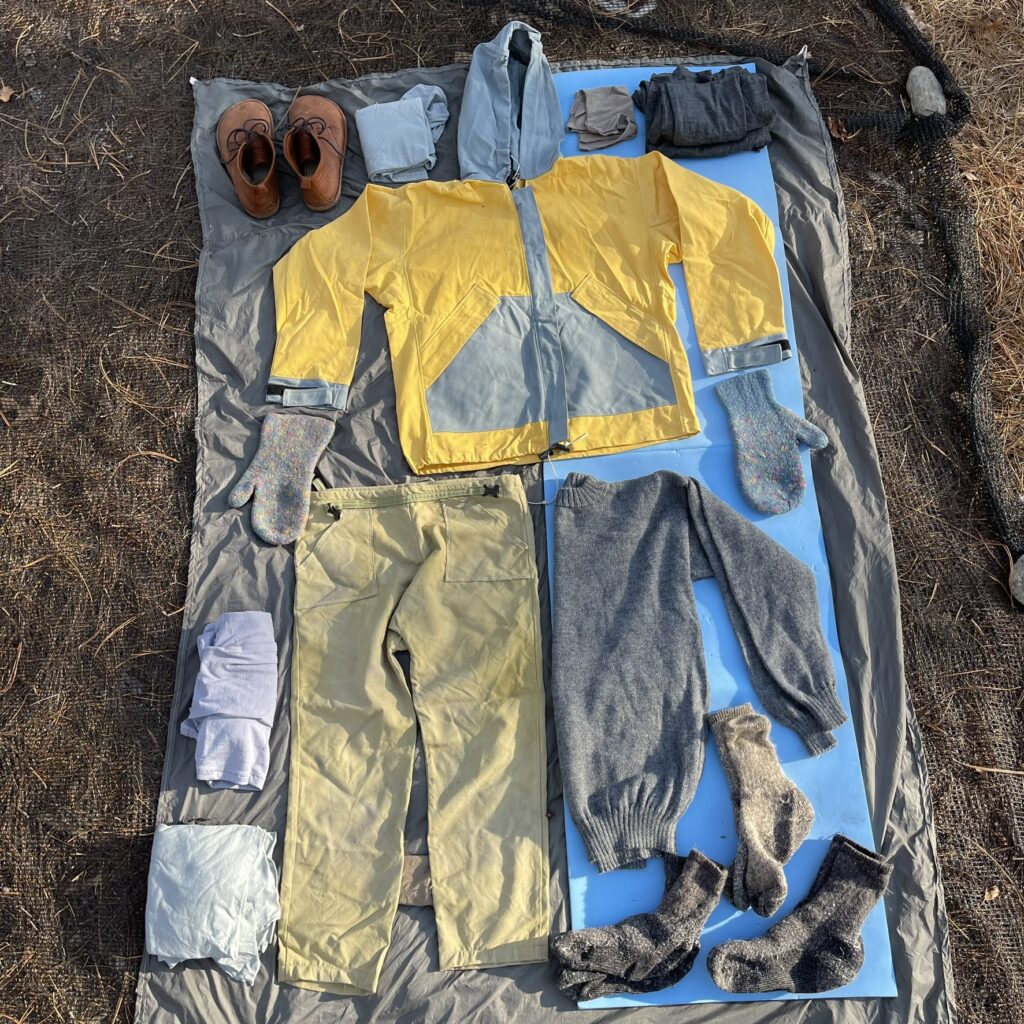
Pay attention to the hood, shoulders, cuffs and the fold at the elbows, and wax the inside of the hand-pocket mouths, where rain runs off your gloves. Wear wool underneath so any moisture that gets through is buffered by the wool rather than sitting on your skin. A well-waxed shell also dries fast by a fire and shrugs off a flying ember.
Pack and fanny pack
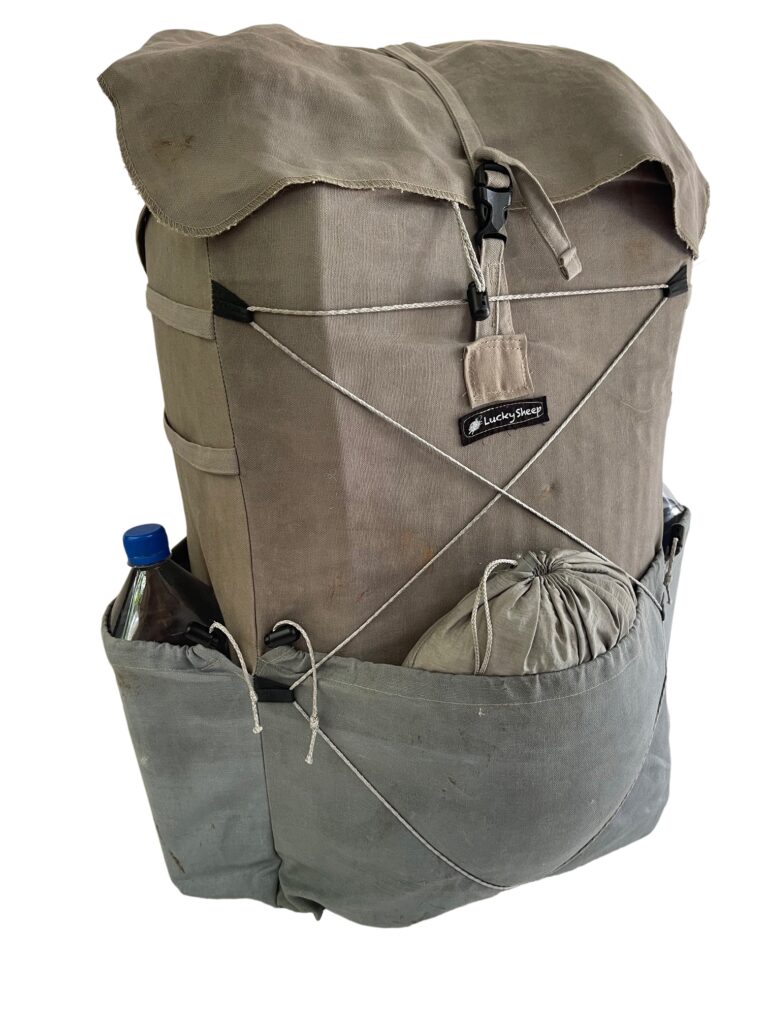
The bottom panel and the backs of the side pockets take the most abrasion and go pale first. Stuff the 65 L canvas backpack with a towel so you can work each panel flat, and wax the roll-top so it seals when rolled. No amount of wax makes a pack waterproof, so a silnylon stuff sack goes inside for the sleeping bag on wet trips. The waxed canvas fanny pack gets the same treatment on its base and zipper flap.
Tarp and ground cloth
Re-wax the waxed canvas tarp pitched if you can, so it is taut and the panels are easy to work, and let a sunny afternoon draw the wax in while it is up. Do the ridgeline and the tie-out corners heavily. A ground cloth needs wax mainly on the ground side; in damp conditions it goes over a silnylon ground sheet, and it gets wiped clean and dried before rolling.
Tipi tent
Pitch it in full sun, wax one panel at a time working from the peak down, and let the sun do the melting. Concentrate on the door and the panels that face the prevailing weather. Take it down only when fully dry and roll it loosely. Because the canvas carries no polyurethane coating and no flame retardant, treat open flame near it with the care you would give any cotton cloth.
One bar of Trail Wax covers a jacket and a pack with enough left for a season of touch-ups; a tarp or the tent takes more.
Care as a practice
We each need to develop a relationship with our entire gear set, and an afternoon with a bar of wax is a good way to build one. You handle every seam, find the thin places before the rain does, and put your own effort into something built to outlast what is sold beside it.
Try it on one piece and see how the rain beads the next morning.
Real fibers for real conditions.
Reviewed September 2026 by the Lucky Sheep® team.
Layers that work wet
Wool next to skin, waxed canvas as the shell: a layering system that manages sweat and weather without membranes or coatings. The rain jacket is a breathable alternative to Gore-Tex-style shells; the merino bandana is the piece you’ll wear every day.
-
Lightweight Waxed Canvas Rain Jacket
A rain shell that breathes
2 lb / 0.9 kg10 oz organic canvasPFAS-free wax finish
$525.00 Select options This product has multiple variants. The options may be chosen on the product page -
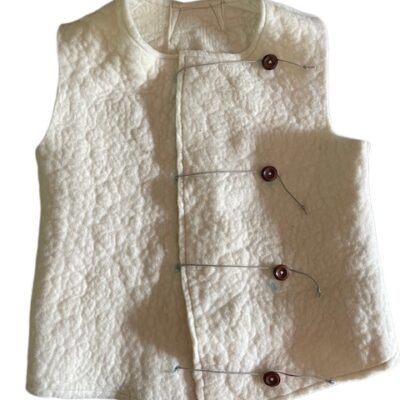
Wool Felt Adventure Vest
$175.00 Select options This product has multiple variants. The options may be chosen on the product page